Setup
MOAC release
Download from latest release version of VNOE from release link
Debian/Ubuntu/CentOS
- Untar the file using tar, under the directory, run ./moac
To see the help, use ./moac –help
To enable the console, run: ./moac console
A mainnet directory will be created under $HOME/.moac/ and some info should be seen as:
INFO [04-24|11:24:26.506] 86161:IPC endpoint closed: /home/user/.moac/moac.ipc
from another terminal, run moac again to attach the running node
./moac attach
or
./moac attach $HOME/.moac/moac.ipc
from console prompt, create coinbase account
>personal.newAccount()
from console prompt, start mining by running
>miner.start()
from another terminal, run moac again to attach the running node
./moac attach
from prompt, load script
>loadScript("mctest.js")
check if miner has mined any moac by checking:
>mc.accounts
create another account
>personal.newAccount()
try send from one account to another:
>Send(mc.accounts[0], '', mc.accounts[1], 0.1)
WINDOWS
Unzip the file to a directory, under the directory, run moac.exe
To see the help, use moac.exe –help
To enable the console, run: moac.exe console
A mainnet directory will be created under and some info should be seen as:
1. Check moac command line info
Open Windows client cmd, move to the install directory of moac (assume c:moac-win), run:
C:\moac-win>moac.exe --help
will display the commandline info:
Start MOAC.... 2
NAME:
 moac - the MOAC-core command line interface
 Copyright 2017-2019 The MOAC tech
USAGE:
 moac [options] command [command options] [arguments...]
 VERSION:
   1.0.9-rc-dd996c53

 COMMANDS:
 account     Manage accounts
 attach      Start an interactive JavaScript environment (connect to node)
 bug         opens a window to report a bug on the moac repo
 console     Start an interactive JavaScript environment
 dump        Dump a specific block from storage
 dumpconfig  Show configuration values
 ......

  MOAC CORE OPTIONS:
  --config value                      TOML configuration file
  --datadir "C:\Users\[userName]\AppData\Roaming\MoacNode" Data directory for the databases and keystore
  --keystore                         Directory for the keystore (default = inside the datadir)
  --nousb                           Disables monitoring for and managing USB hardware wallets
  --networkid value                   Network identifier (integer, 1=Pangu, 2=Testnet) (default: 1)
  --testnet                          MOAC test network: pre-configured proof-of-work test network
2. Run a VNODE client connecting with mainnet
Open Windows client cmd, move to the install directory of moac, run:
C:\moac-win>moac.exe
should have similiar info:
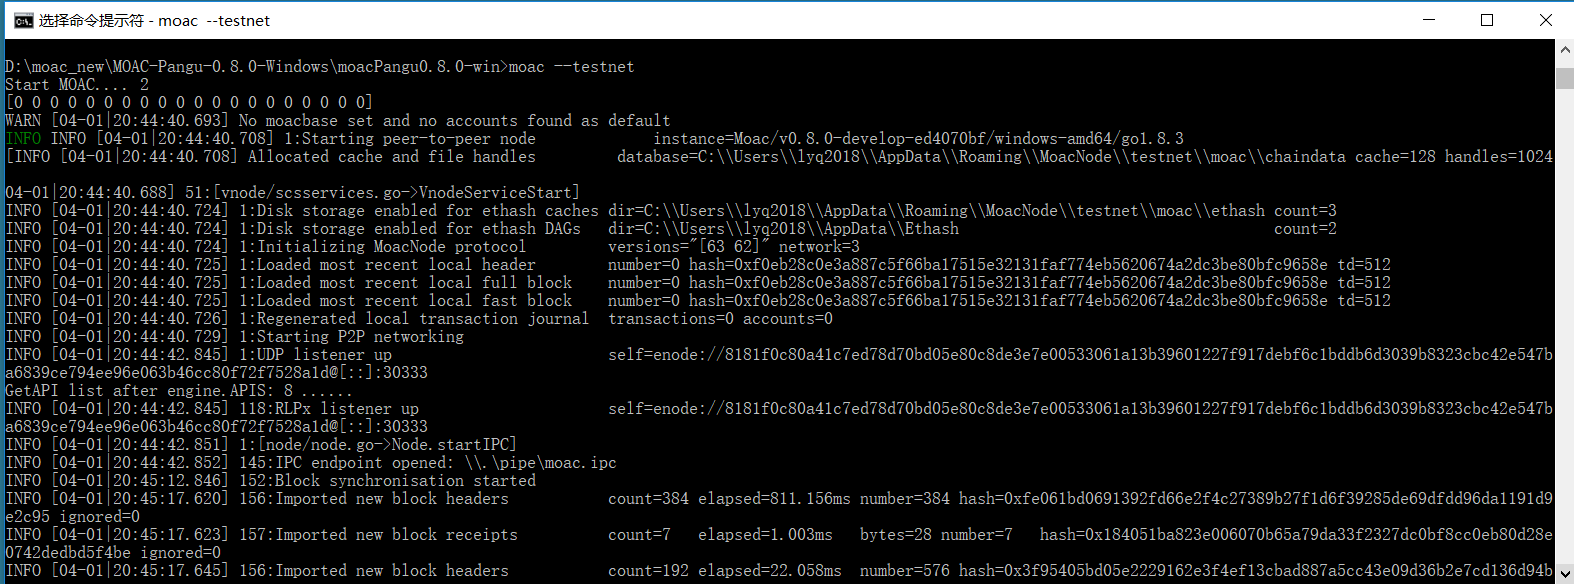
moac_install_win_0
If it’s the first time you start VNODE, you should have some thing like:
INFO [04-01|20:44:42.851] 1:[node/node.go->Node.startIPC]
INFO [04-01|20:44:42.852] 145:IPC endpoint opened: \\.\pipe\moac.ipc
INFO [04-01|20:45:12.846] 152:Block synchronisation started
It means the VNODE is connecting with the MOAC network and start syncing blocks.
The default installation directory is:
C:\Users\[userName]\AppData\Roaming\MoacNode\
It should contains two subdirectories :moac和keystore。
2.3 进入MOAC console界面
系统关机或主动关闭运行中的节点后,如果需要重新启动节点,在命令行中执行:
C:\moac-win> moac console
之后一直滚屏以同步区块数据。
打开另一个命令(cmd)终端,转到墨客当前目录,在命令行中执行:
D:\ moac-win>moac attach
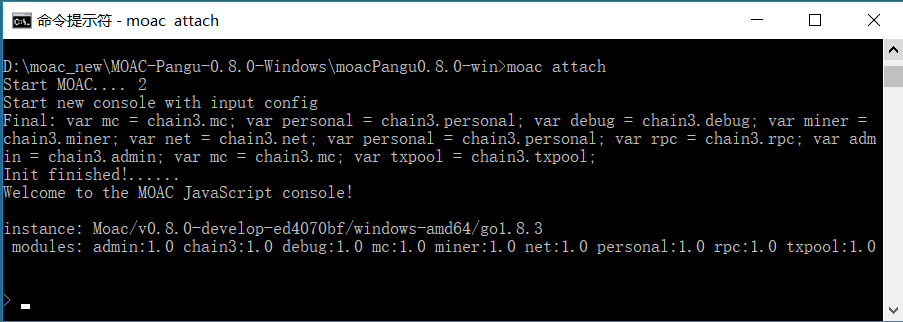
moac_install_win_1
该命令行不会主动滚屏,而是等待命令。
3. Mining
3.1 Create New Account
挖矿前必须建立一个自己的账户。
进入MOAC console界面,执行命令:
> personal.newAccount()
系统会提示输入一个密码,例如”passwd”,并再次输入相同密码确认后,会显示一个以0x开头的字符串,即为MOAC帐号的公开地址。
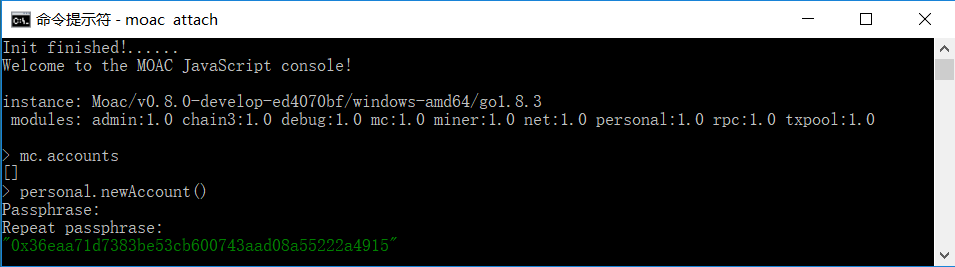
moac_install_win_2
系统同时会在以下目录:
C:\Users\[userName]\AppData\Roaming\MoacNode\testnet\keystore
记录一个账号文件。请保存好该文件,并牢记密码,之后用于解密帐号和操作。
3.3 查看账户余额
进入MOAC console界面,执行命令:
> mc.getBalance(mc.accounts[0])
可以查看本节点下的账号余额。0表示第一个账户,也是默认挖矿账户。
或者:导入“mctest.js”的情况下(见4.1),执行命令:
> checkBalance()
该命令用于查看当前节点所有账号的余额。
3.5 开始挖矿
进入MOAC console界面,执行命令:
> miner.start()
挖矿状态下,数据显示有明显不同。
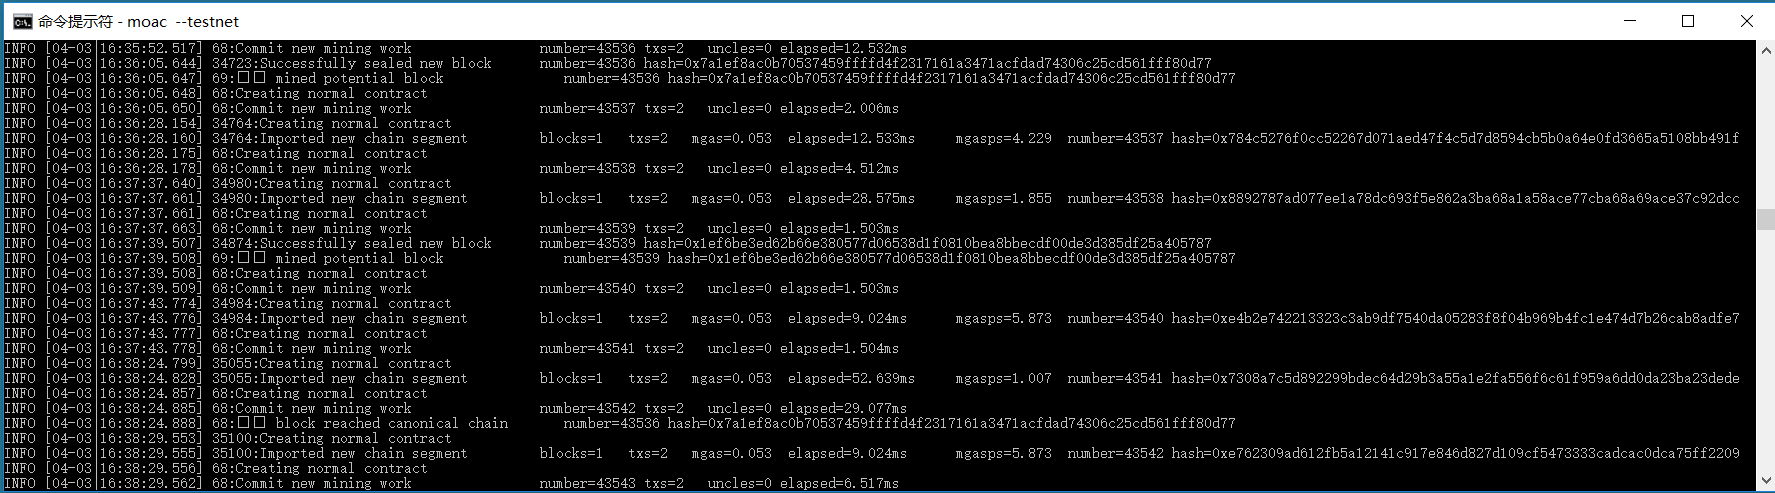
moac_install_win_4
挖到矿之后,可以查看余额
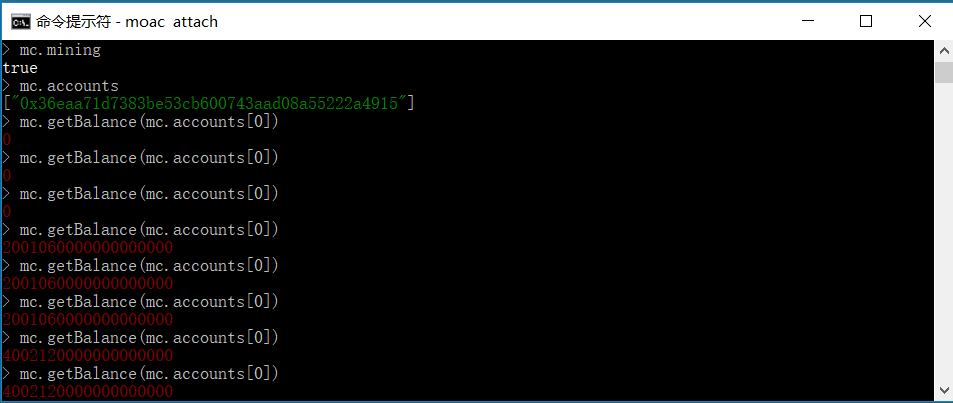
moac_install_win_5
登录墨客区块链浏览器页面: http://explorer.moac.io。
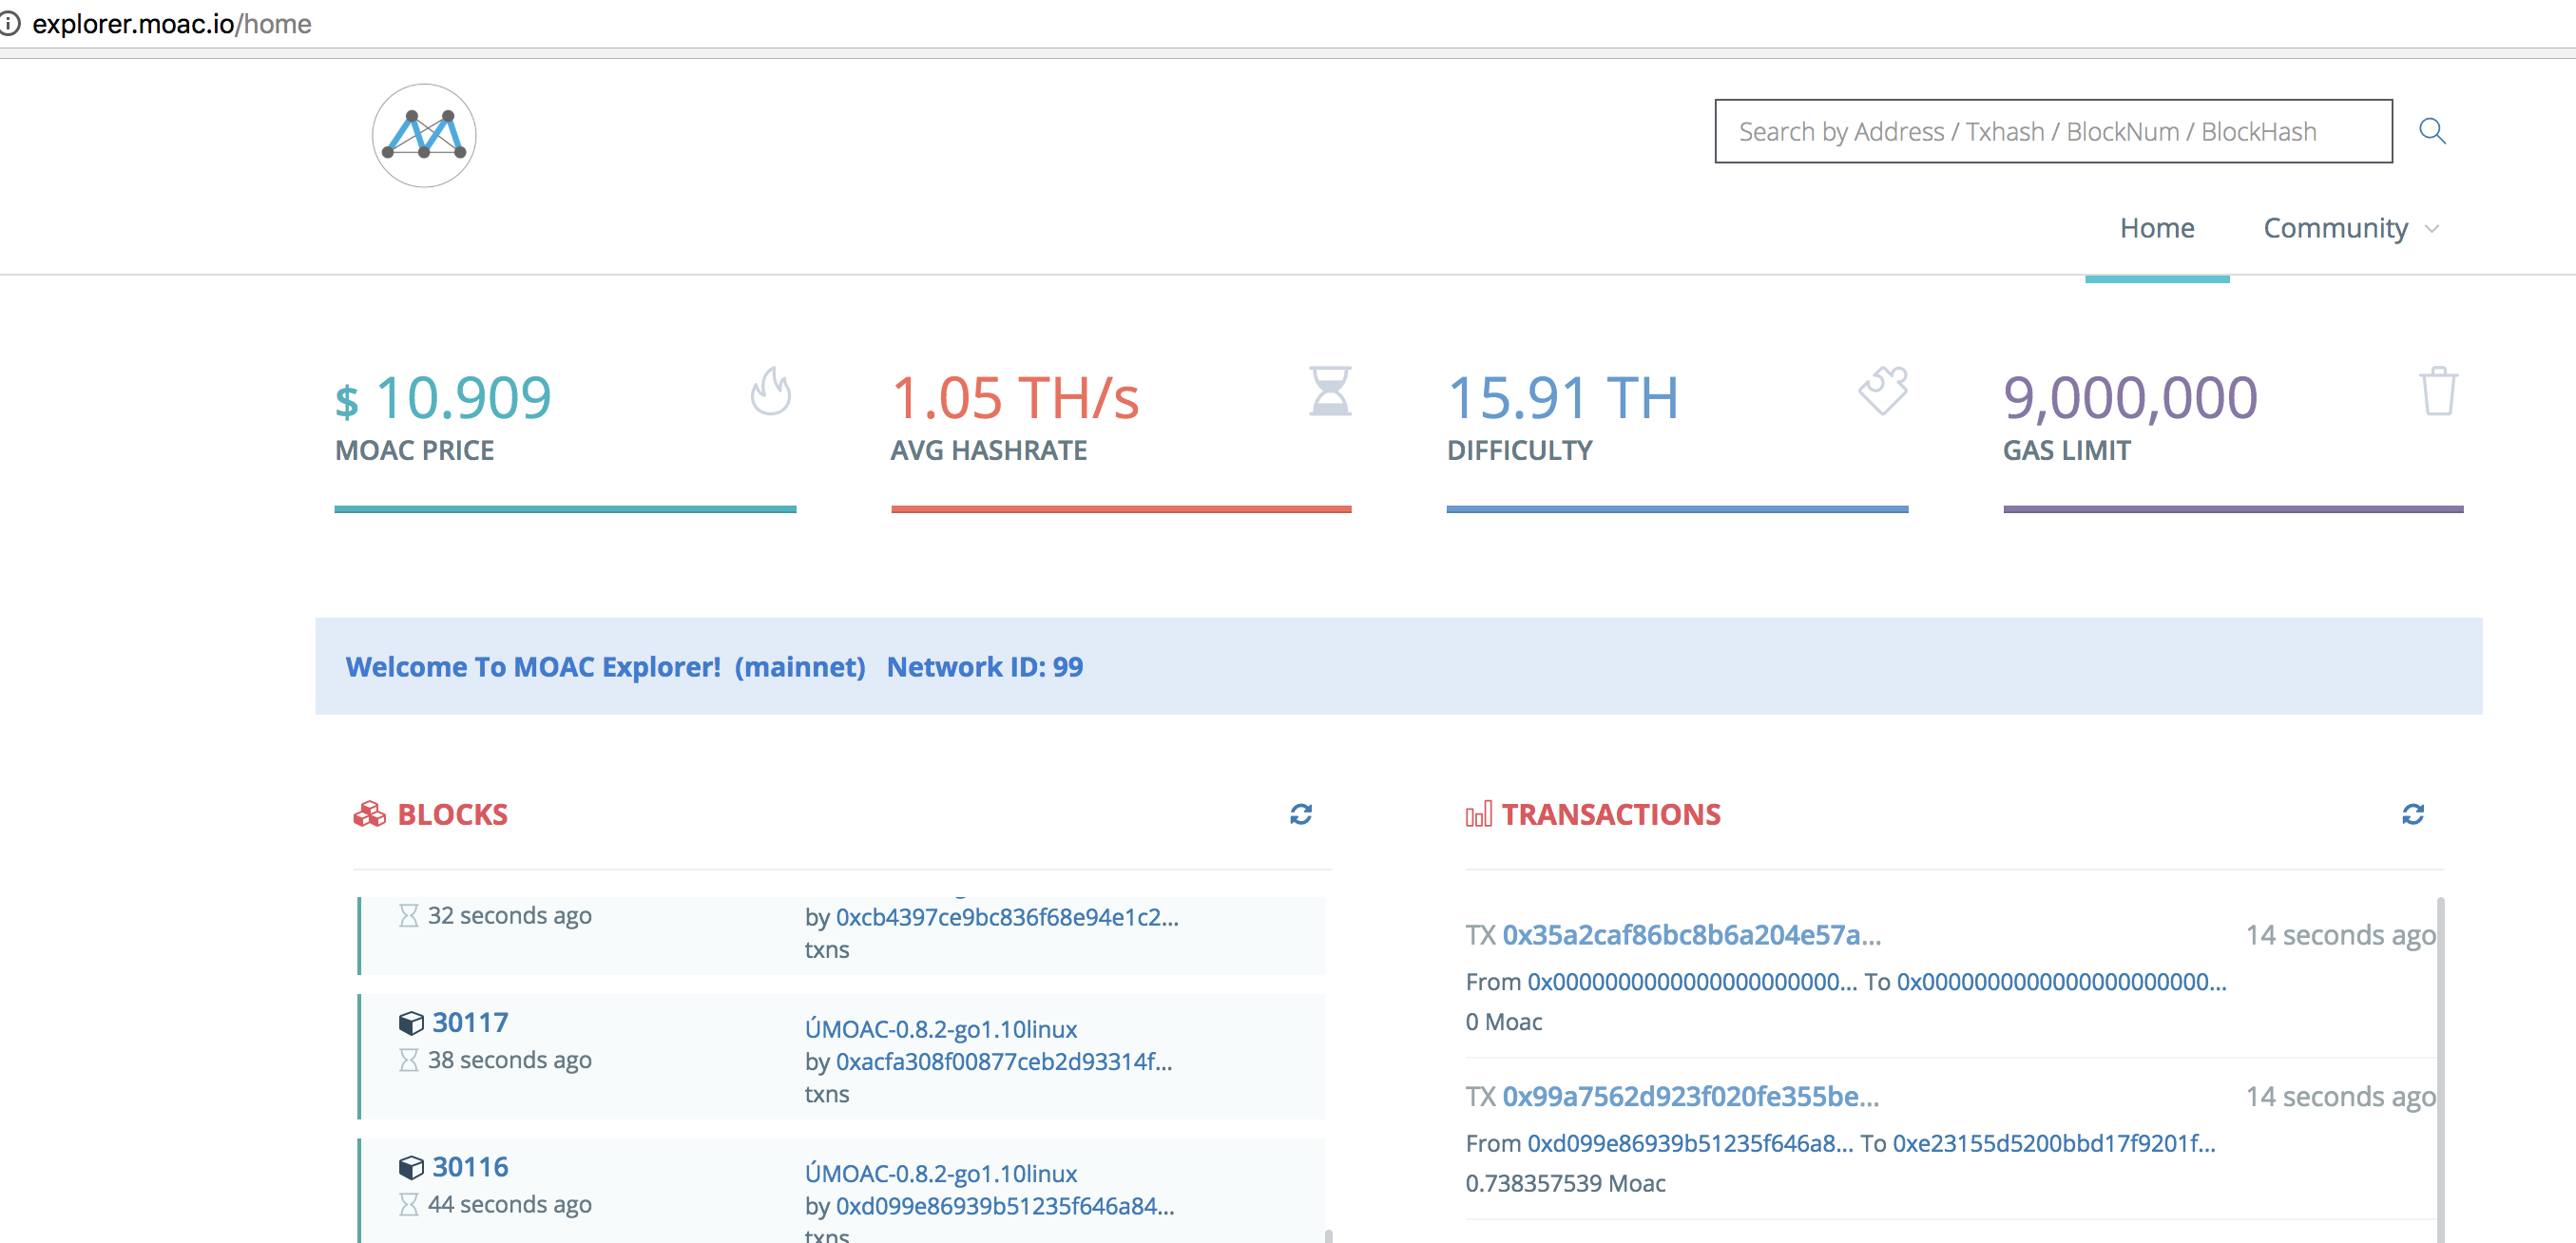
moac_explorer_0
在搜索栏输入你的挖矿账号地址,会显示该账号的余额等信息。
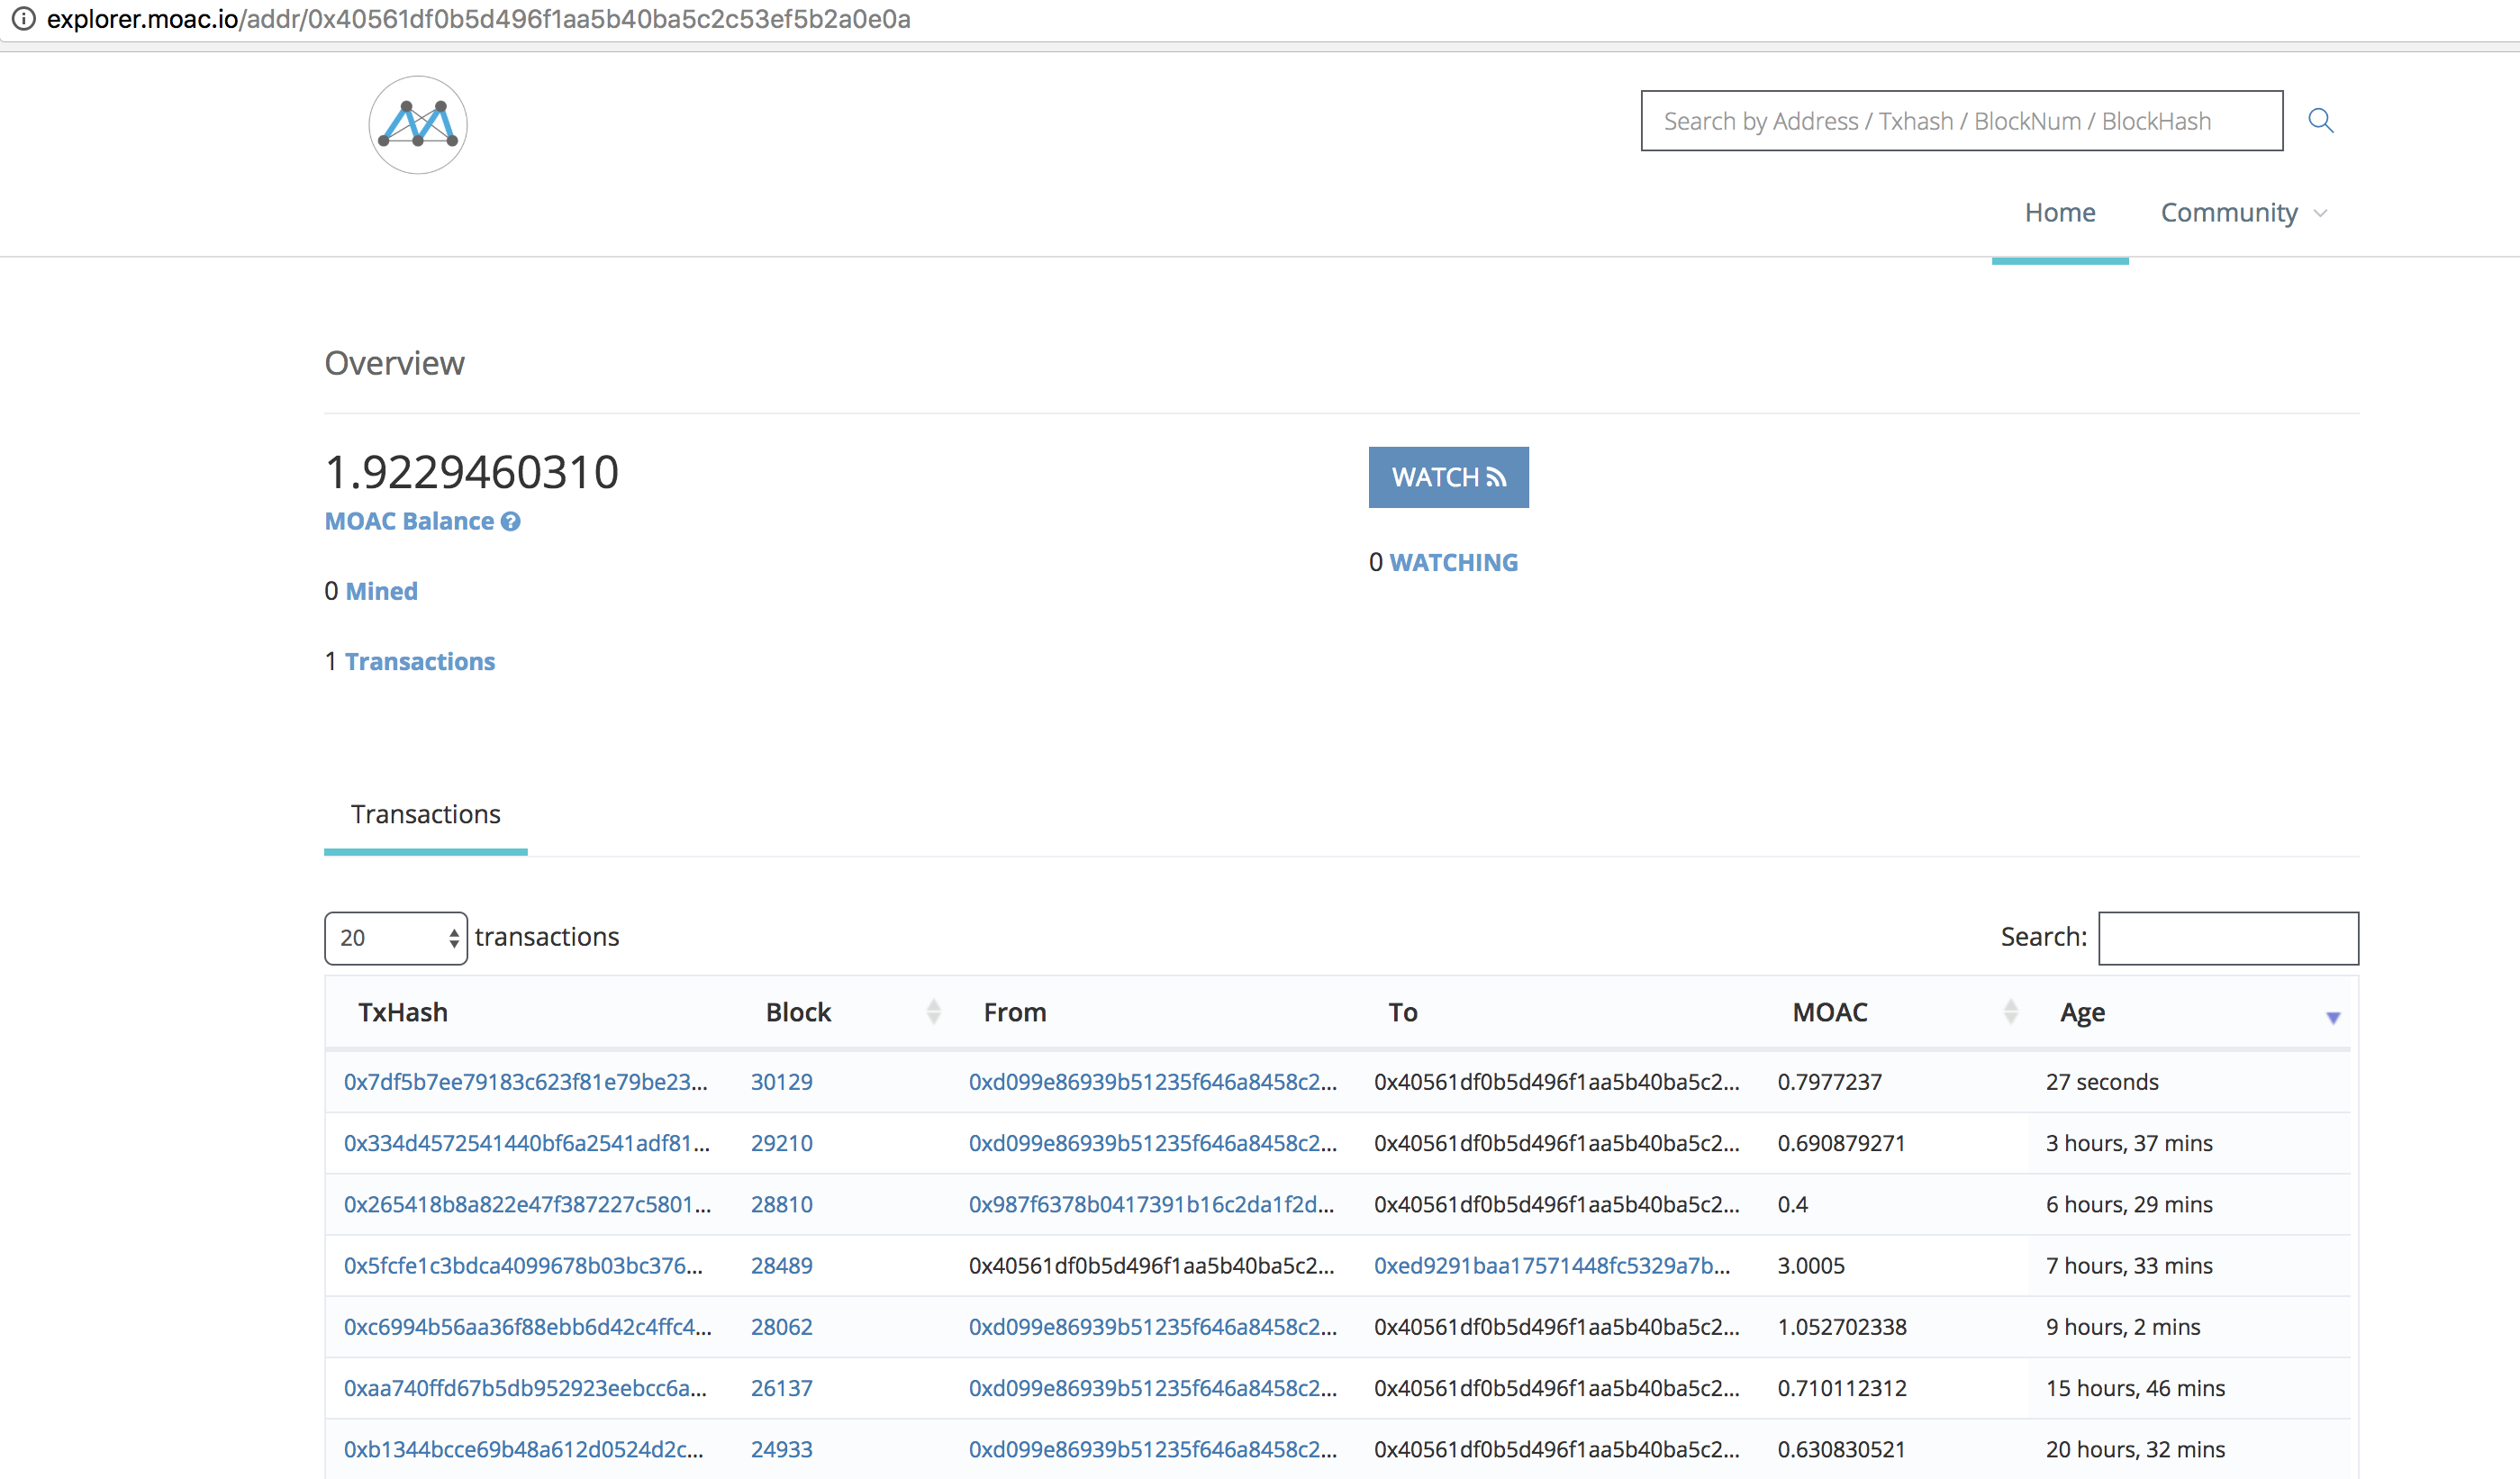
moac_explorer_1
在搜索栏输入你挖到矿的区块号,会显示该区块的信息。
Miner正是你的账号地址。

moac_explorer_2
4. 交易
4.2 交易条件
为执行交易,需要至少两个帐号,其中一个有足够的mc。
如果没有目标账号,可以用步骤2.3.1的命令创建一个本地账号。并用命令:
> mc.accounts
显示当前节点中存储的账号,应该至少有一个挖矿账号。
4.3 交易
进入MOAC console界面,执行命令:
> Send(mc.accounts[0], 'passwd', mc.accounts[1], 0.1)
这个过程需要第一个账号的密码。比如’passwd’,发送额为0.1 mc。
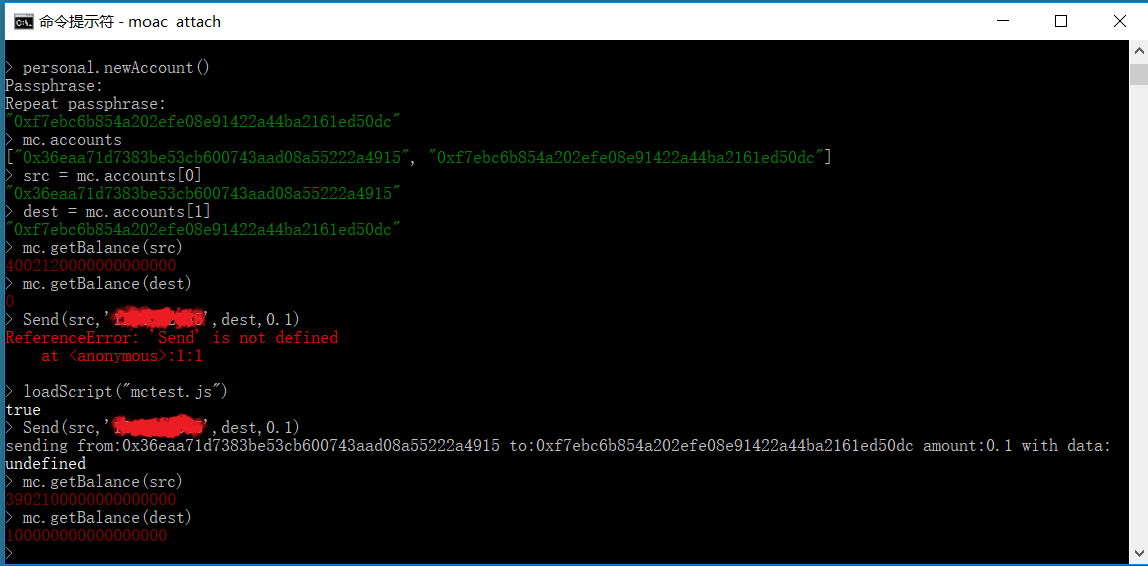
moac_install_win_6
在系统挖矿的情况下,发送应该在下一个区块产生时完成。
系统显示的是以 sha(Sand) 为单位的余额, 1 mc = 1e18 sha。